DONNOTEC System Features
This page provides a comprehensive overview of all core features of the application. Use the side navigation to jump to a specific section.
The Dashboard
The Dashboard is your financial command center, providing an at-a-glance overview of your business. It is composed of several informational panels called "widgets" that display key data like your period status, recent activity, and financial summaries.
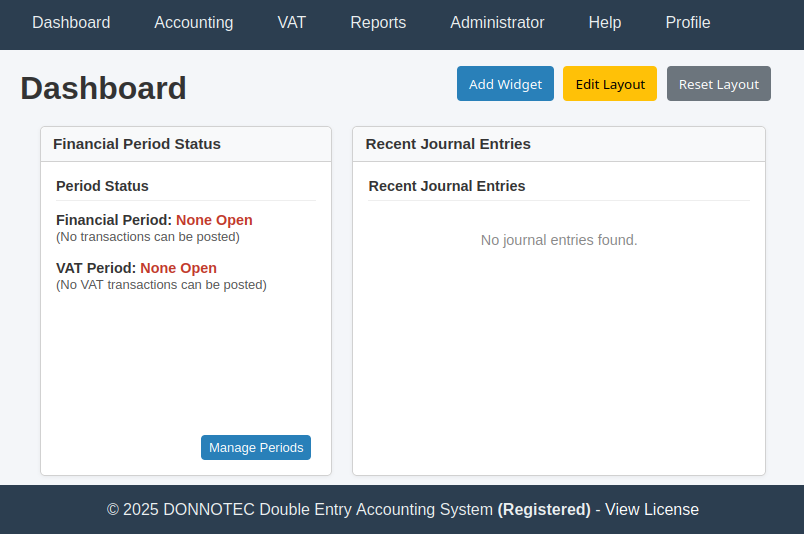
Customizing Your Dashboard
You have full control over the layout of your dashboard to prioritize the information that is most important to you.
- Edit Layout: Click this button to enter "edit mode." The widget headers will become draggable. You can click and drag any widget to a new position on the grid.
- Resize & Remove: While in edit mode, hover over a widget to see its controls. Use the gear icon (⚙) to change its size (small, medium, large) or the close icon (×) to remove it from the dashboard.
- Add Widget: Click this button to open a list of all available widgets. Select one from the dropdown and click "OK" to add it to your dashboard.
- Reset Layout: If you want to return to the default set of widgets and their original layout, click this button. This action will remove all your customizations.
Chart of Accounts
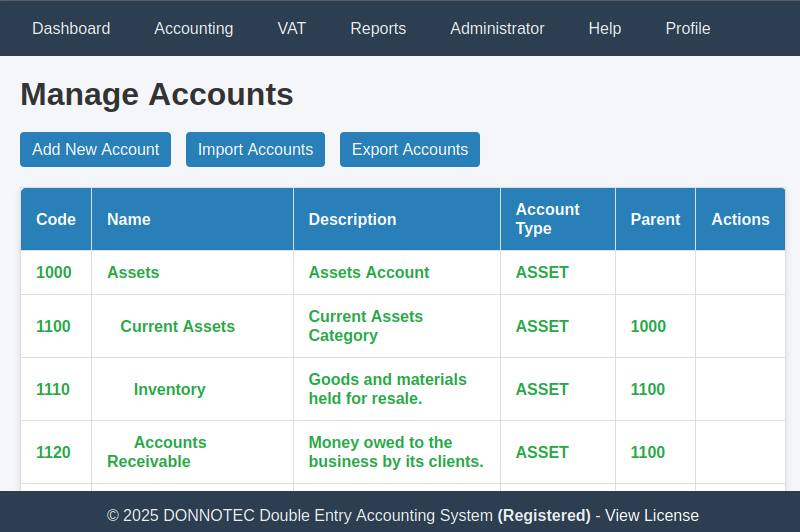
The Chart of Accounts is the foundational list of all categories where your financial data is stored. Every transaction must be assigned to accounts from this list. It is structured to reflect the fundamental accounting equation: Assets = Liabilities + Equity.
Navigation: Accounting -> Accounts
Managing Individual Accounts
Click the Add New Account button to open the form.

- Code: A unique identifier for the account (e.g., 5310).
- Name: A descriptive name (e.g., "Office Rent").
- Account Type: The most important classification (Asset, Liability, Equity, Revenue, or Expense).
- Parent Account: The account under which this new account will be grouped in reports.
Bulk Operations
For managing many accounts at once, you can use the import and export functions.
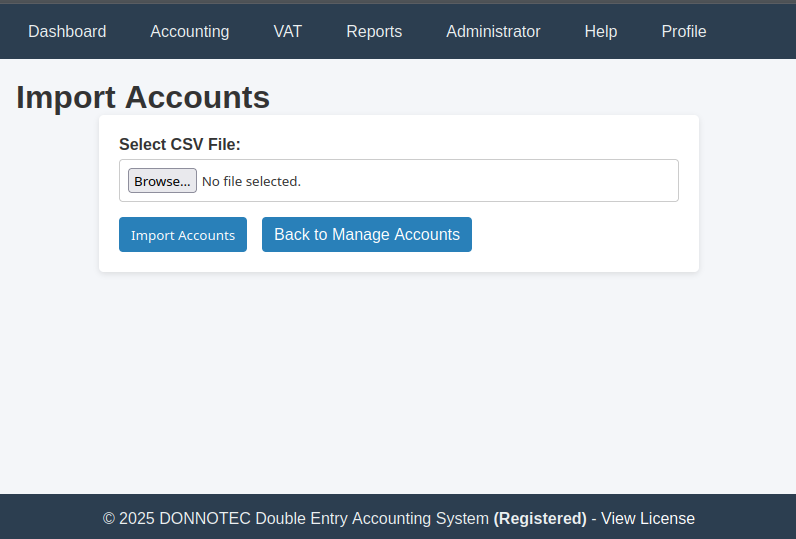
- Export Accounts: Click this to download a CSV file of your entire Chart of Accounts.
- Import Accounts: Click this to upload a CSV file to add new accounts in bulk. The CSV must have the correct headers: `code`, `name`, `description`, `account_type`, and `parent`.
Journal Entries & Transactions
The system provides two primary methods for recording financial activity, each suited for different purposes.
Journal Entries
Navigation: Accounting -> Journal Entries
A Journal Entry is a container for a set of related transactions that occur on the same date. It is the standard, formal way to record accounting data, especially for complex transactions or adjustments.
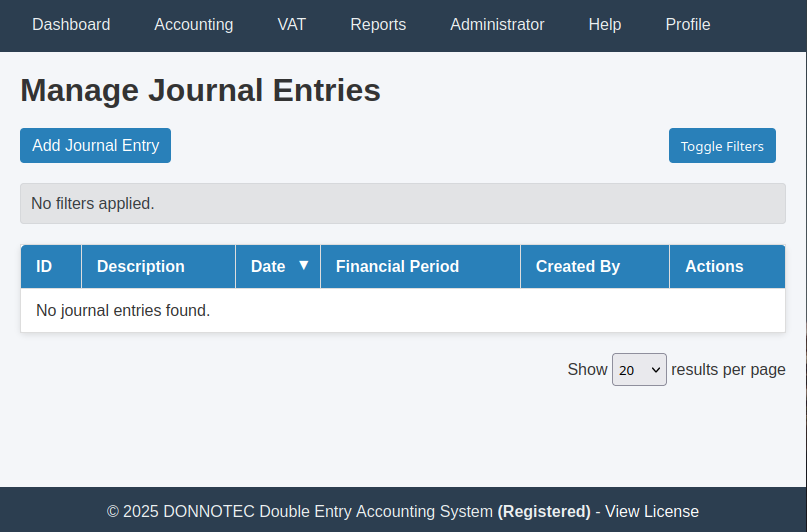
To create one, click Add Journal Entry, provide a date and description, and then add individual transaction lines. The system ensures total debits equal total credits for the entry.
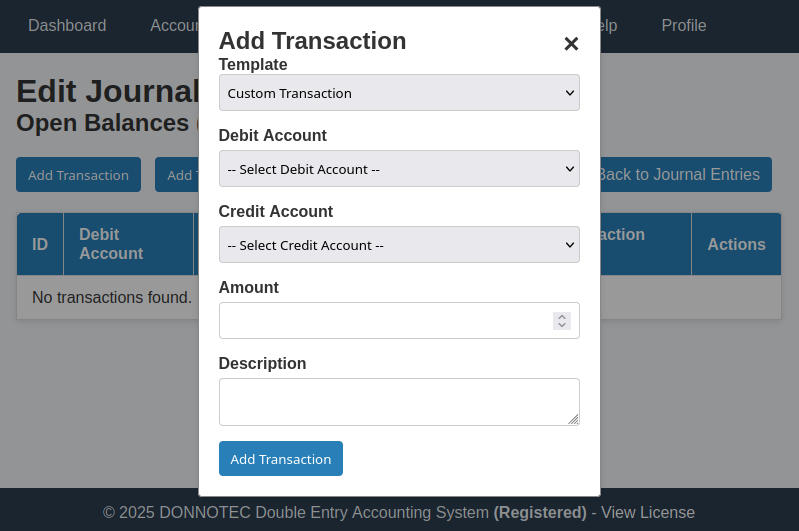
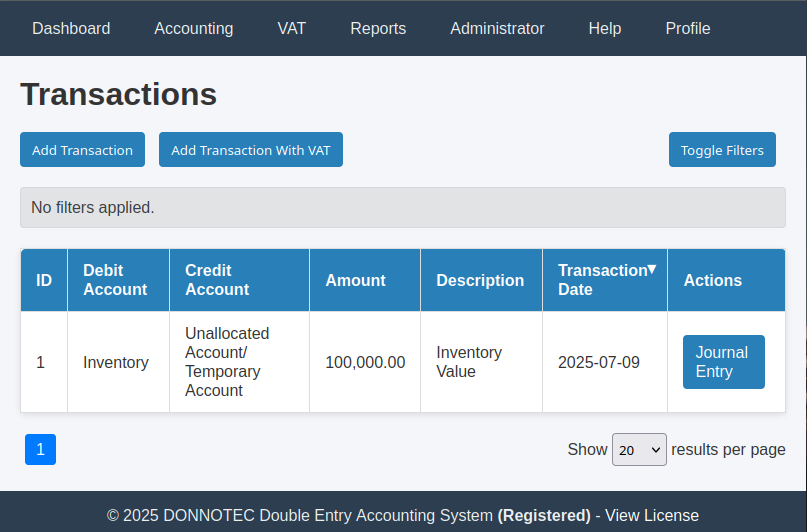
Transactions
Navigation: Accounting -> Transactions
This screen is a shortcut for recording simple, single transactions (one debit, one credit), such as paying a bill. It creates a journal entry automatically in the background.
Financial Reports
The Reports menu is where you can analyze your financial data. For all reports, you can either select a predefined Financial Period or specify a custom date range to generate the report.
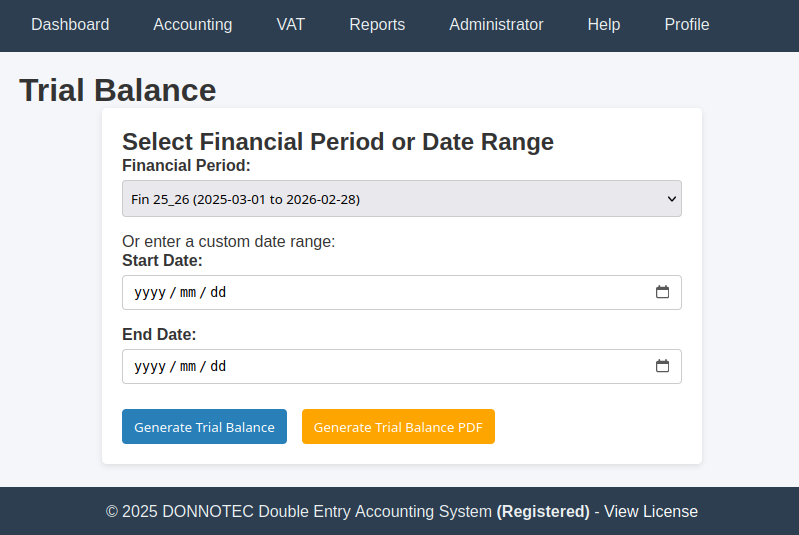
Core Reports
- Trial Balance: An internal report to verify that total debits equal total credits, ensuring your books are balanced.
- Income Statement: Shows your business's financial performance (Revenue - Expenses = Net Income) over a period.
- Balance Sheet: A snapshot of your company's financial position (Assets = Liabilities + Equity) on a specific date.
- Cash Flow Statement: Tracks the movement of cash through operating, investing, and financing activities.
VAT Management
This section covers all features related to Value-Added Tax for registered businesses.
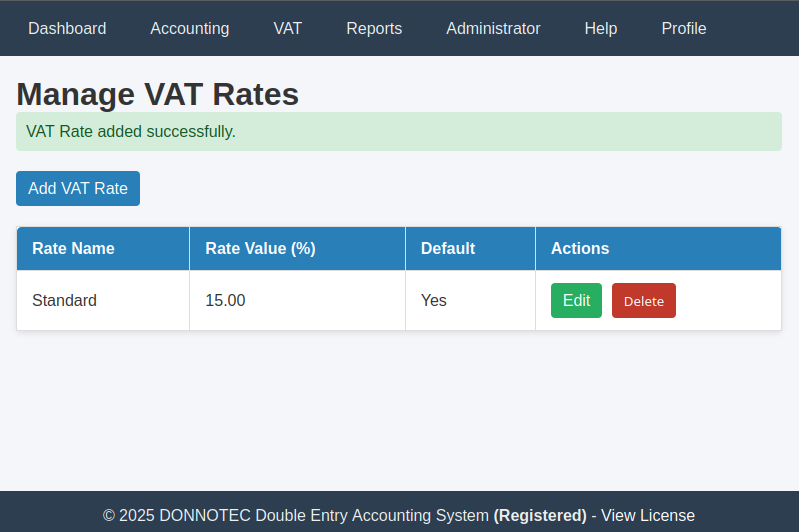
VAT Rates & Periods
Navigation: VAT -> VAT Rates / VAT Periods
Define all the VAT percentages your business uses (e.g., 15%, 0%) and set up VAT Periods that correspond to your tax filing schedule. Closing a VAT period is a critical step that calculates your VAT liability and creates a settlement journal entry.
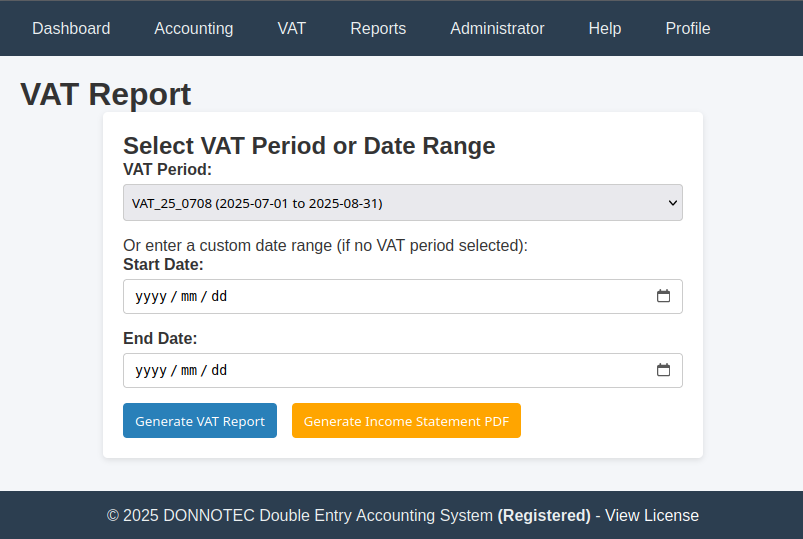
VAT Report
Navigation: VAT -> VAT Report
This report provides a detailed breakdown of all VAT transactions within a selected period, showing the calculation for VAT payable and VAT receivable. It is the primary tool for completing your tax filings.
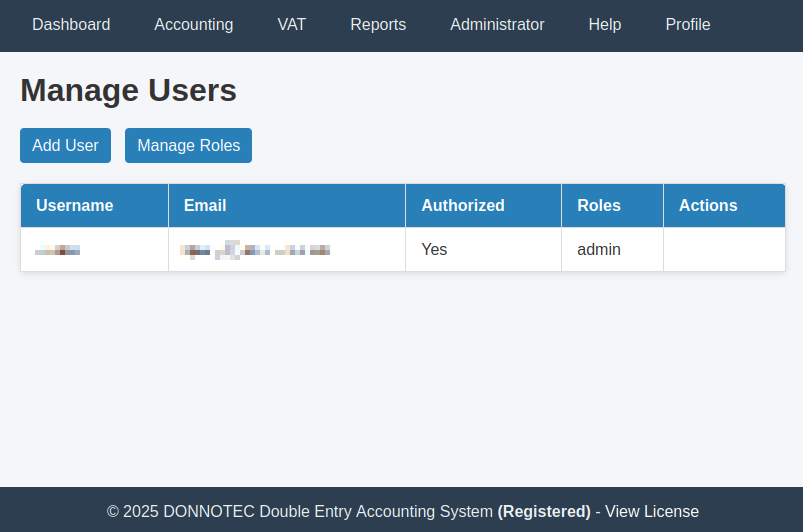
User Management
Navigation: Administrator -> Users
This screen lists all users of the system. From here, an administrator can authorize new users, edit their roles and details, reset passwords, or delete accounts. Roles control what a user is allowed to do, providing granular control over every feature.
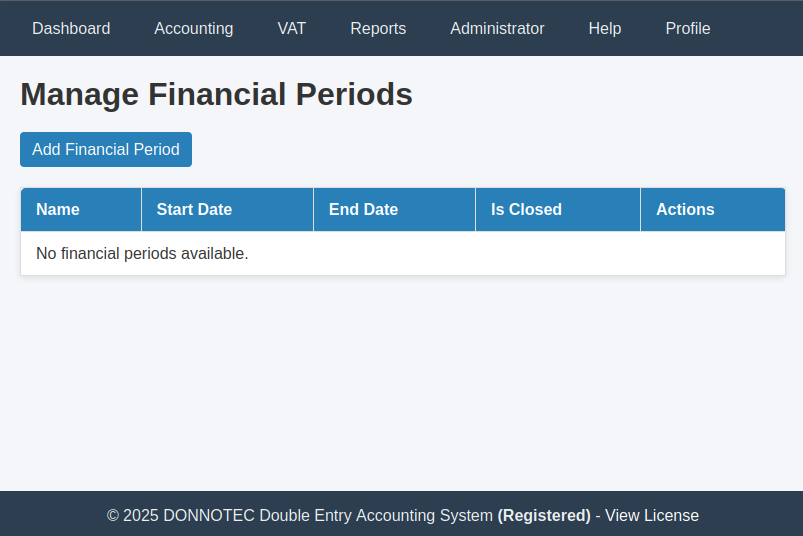
Financial Periods
Navigation: Accounting -> Financial Periods
A financial period defines the start and end dates of your accounting year. At the end of the year, you must close the period. This action finalizes the books, zeroes out all income and expense accounts, and transfers the Net Income to Retained Earnings.
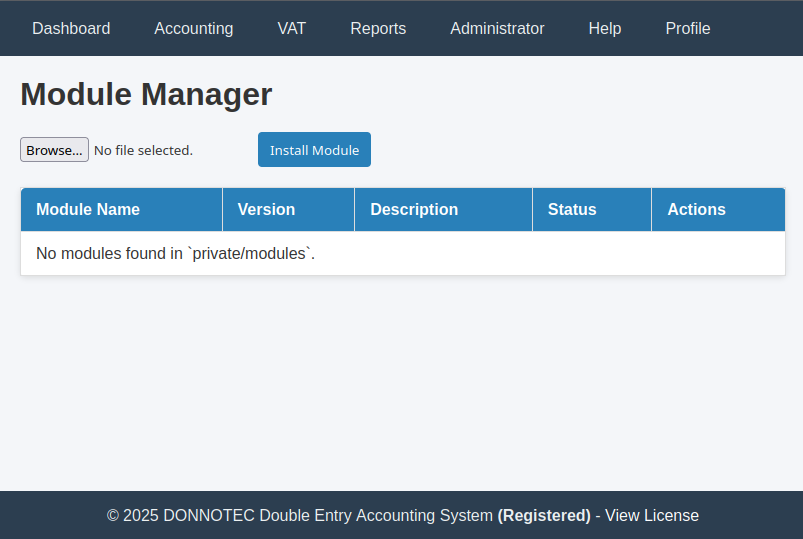
Modules & Updates
Navigation: Administrator -> Module Manager / Update Manager
Modules are optional add-ons that provide significant new features. The Module Manager allows you to install, activate, and deactivate them. The Update Manager securely checks for and installs new versions of the core DDAS software.
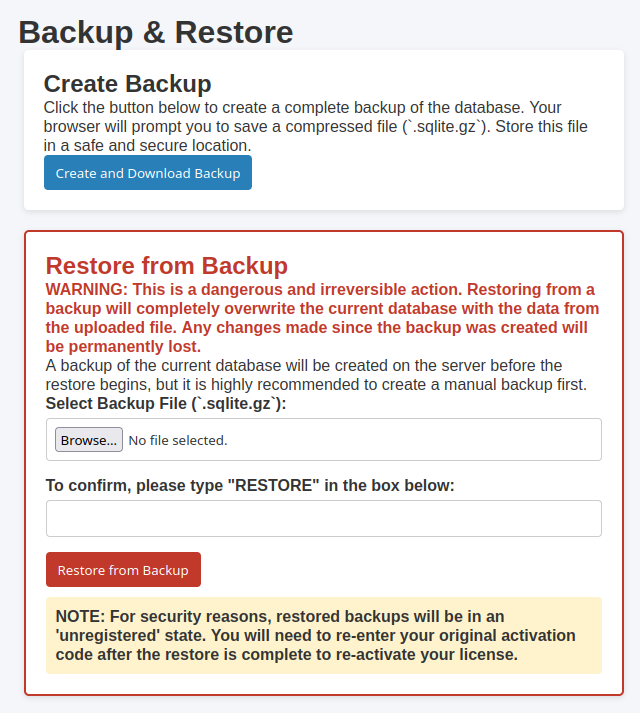
Backup & Restore
Navigation: Administrator -> Backup / Restore
Protecting your financial data is essential. This tool allows you to create a complete, compressed backup of your database with a single click. You can restore from a backup file, but be warned: this action will completely overwrite all current data.
Advanced Customization Tools
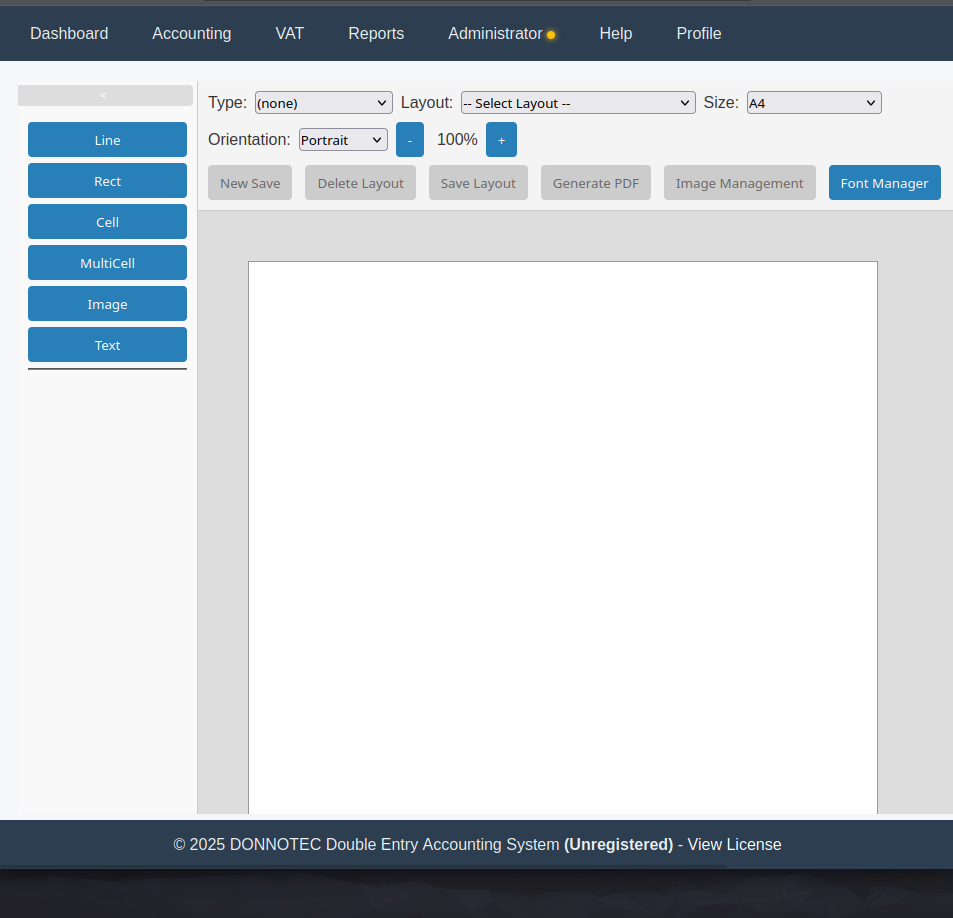
Navigation: Administrator -> Document Editor
The Document Editor is a powerful visual tool for creating and modifying the layouts of printable PDF documents. You can also manage images (like your logo) and upload custom fonts to ensure all your documents match your company's branding.